Daly BMS
Powermon can monitor Daly BMS and show individual cell voltages, state of charge (SOC), capacity and much more.
What you need
Daly BMS.
Most models should work.
UART to USB connection cable.
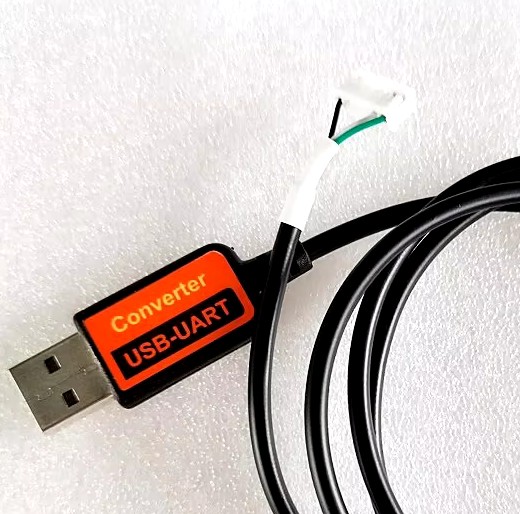
You may need to order the cable separately. A RS485 to USB cable might work too, but we haven’t tested it.
A device with a USB port that can run Linux.
For example a laptop or Raspberry Pi. For continuous monitoring your device needs to be constantly powered and close to your BMS.
Instructions
Connect the UART part of the connection cable to the UART port on the BMS. Connect the USB part of the connection cable to the USB port of your device.
(optional) Enable non-root access to your USB device.
Configure your Powermon connection (see the examples below) and save it to a file
daly-conf.yaml.Test the connection:
powermon -C daly-conf.yaml.(optional) Integrate with Home Assistant.
Configuration
Example configuration
device:
  name: Daly BMS
  model: 250A16S48V
  manufacturer: Daly
  serial_number: 12345
  port:
    type: serial
    path: /dev/ttyUSB0
    baud: 9600
    protocol: DALY
commands:
- command: SOC
- command: status
- command: mosfet
- command: cell_voltages
  outputs:
  - type: screen
    format:
      type: table
- command: temperatures
Cell voltages filtering
Sometimes, Daly BMS might return voltage data about more cells than your have physically installed. For example,you might get data about 18 cells while you have only 16. It’s because the protocol sends cell voltage data in threes. You can use regex filtering to discard data for cells 17 and 18 (which show duplicate values for cells 14 and 15) and keep only first 16:
- command: cell_voltages
  outputs:
  - type: screen
    format:
      type: table
      filter: (0[1-9]|1[0-6])
Sending data to Home Assistant
Use MQTT to send data to Home Assistant. Powermon automatically groups the output into a single device and formats the sensor output.
Specify the output and formatting for each command:
commands:
- command: SOC
  trigger:
    every: 10
  outputs:
  - type: mqtt
    format:
      type: hass
      extra_info: True
      discovery_prefix: homeassistant
Configure your MQTT broker (assuming the default port 1883; change if yours is different):
mqttbroker:
  name: <IP address of your MQTT broker>
  port: 1883
  username: <your MQTT broker username>
  password: <your MQTT broker password>
Daemon
For continuous monitoring, enable the daemon:
daemon:
 type: systemd
 keepalive: 30
Full config
device:
  name: Daly BMS
  model: 250A16S48V
  manufacturer: Daly
  serial_number: 12345
  port:
    type: serial
    path: /dev/ttyUSB0
    baud: 9600
    protocol: DALY
commands:
- command: SOC
  trigger:
    every: 10
  outputs:
  - type: mqtt
    format:
      type: hass
      extra_info: True
      discovery_prefix: homeassistant
- command: status
  trigger:
    every: 10
  outputs:
  - type: mqtt
    format:
      type: hass
      extra_info: True
      discovery_prefix: homeassistant
- command: mosfet
  trigger:
    every: 10
  outputs:
  - type: mqtt
    format:
      type: hass
      extra_info: True
      discovery_prefix: homeassistant
      excl_filter: bms_cycles
- command: cell_voltages
  trigger:
    every: 10
  outputs:
  - type: mqtt
    format:
      type: hass
      extra_info: True
      discovery_prefix: homeassistant
      filter: (0[1-9]|1[0-6])
- command: temperatures
  trigger:
    every: 10
  outputs:
  - type: mqtt
    format:
      type: hass
      extra_info: True
      discovery_prefix: homeassistant

mqttbroker:
  name: <IP address of your MQTT broker>
  port: 1883
  username: <your MQTT broker username>
  password: <your MQTT broker password>

daemon:
  type: systemd
  keepalive: 30

loop: 10
Troubleshooting
Check if your connection cable is securely plugged in. Sometimes the UART port is in awkward position and the connection might be loose.
If Powermon can’t read data from your BMS, try the official Windows software.You will need either a Windows laptop or a virtual machine with Windows guest. On Windows, you might need to install the drivers. If you can read data from your BMS with the Windows software, make sure your Powermon configuration is correct.
If Windows software can’t read data, check that you can do so with the official SmartBMS app with either Bluetooth or WiFi connection.